
Setting up for success with seed starts
Many people associate plant disease with poor germination rates. In fact, if seeds are stored correctly, they can last for years and still germinate. The problem is how long it takes seeds to germinate. Older seeds can take longer to germinate, leading to poor perceived germination rates. This happens because the disease has established itself in the seed start mix as the seed is opening to the outside world. It is rapidly attacked and killed off by an infection.
Damping off can be introduced through many vectors, including but not limited to:
Hands, Fungus gnats, new or old pots, seed start mix, and more.
In this blog post, I will describe my journey of germinating cactus seeds with sterilized media insulated with Bacillus amyloliquefaciens strain D747. An effective bio-fungicide and bactericide. Note, that this is a live product in endospore form. After 2 years, most manufacturers state reduced effectiveness. You are more likely to get a viable product that is not killed by heat or cold due to the endospore.
The most common source of damping off. It can be seen as a white fungus when grown on agar. Once a seed or seedling has been infected, it is game over and back to the character select screen.
General sources on damping off and prevention

Soil prep
I prefer to heat treat my soil. This can be accomplished in a microwave, oven, steam water bath, pressure cooker, or autoclave.
If you are going above 212F (100C), I would recommend using a soil mix without any composted material due to the generation of ammonium and other phytotoxicity bioproducts. This should be of concern with any oven or pressure-based heating.
During this process, you do not want your seed mix to dry. It should be damp at all times.
- With the oven maintained at 200F for 30 mins.
- Steam bath, 30 minutes once the water starts to boil
- Pressure at 10 PSI for 15 minutes
- Dump boiling water to hydrate mix
- Microwave (look it up)
Steam is my go-to, as it kills off most bacteria and all fungal activity. I use a 50% fine vermiculite mix with a 50% fine coco coir mix.
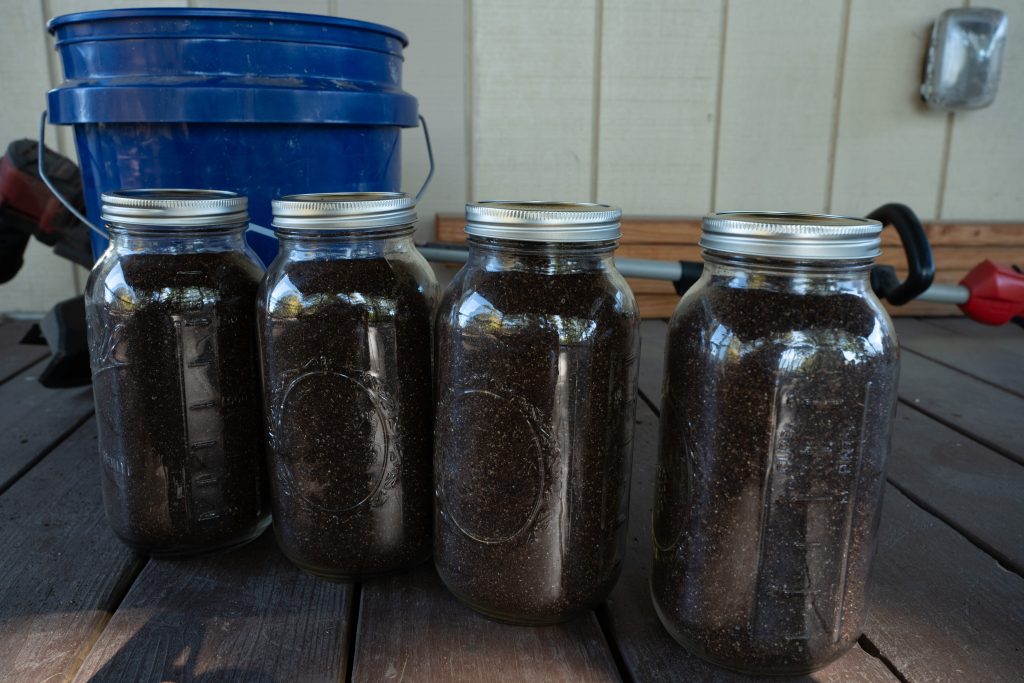
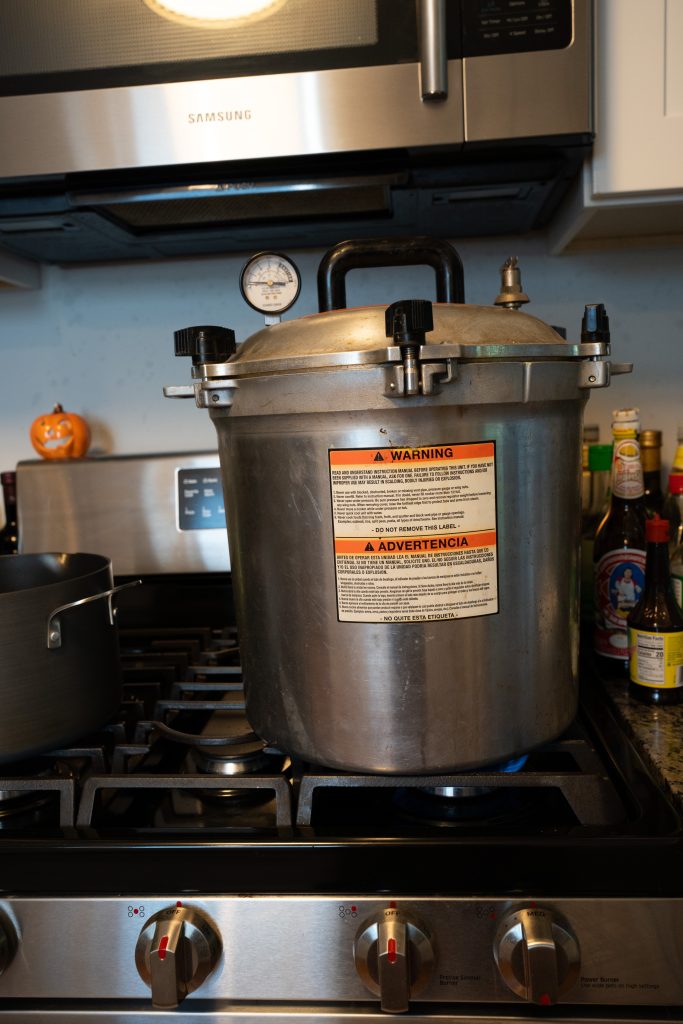
I fill half-gallon canning jars with water and put them in my All-American autoclave with the vent valve open. This effectively makes it a steam water canner. A large pot, a lid, and mason jars will do just fine.
Here, I prepared the jars outside and cleaned them down before bringing them into the house. While the autoclave was warming up, I had the vent valve shut to bring the water to a boil faster. Once the pressure in the autoclave started building. I opened the vent and allowed for excess pressure to vent out and reduced heat to maintain a slow flow of steam out oft he autoclave.
If you are using vermicompost, you will not want to sterilize it, as studies have shown that sterilized vermicompost stops the beneficial actions of the vermicompost. I opt not to use compost at any stage as I want to keep conditions clean for the seeds. Research also shows that vermicompost and Bacillus are effective at pathogen control. I don’t use enough vermicompost to make it worthwhile to buy online. A lot of the store-bought vermicompost has filler agents such as peat moss within the bag. Be sure to read the bag before buying one of these additives from a big chain store.
Treating the seeds & soil
I soaked the seeds for 10 hours in 1.5% concentration of hydrogen peroxide. Studies have shown that a concentration of 1% to 1.5% with an 8-10 soak is effective in reducing pathogens. I went with 1.5% simply because it is a 1 to 1 ratio for store-bought hydrogen peroxide. Deeper research has shown that hydrogen peroxide, even in concentrations of .1% in some seeds, will harm the seeds. Whereas others 1-1.5% will benefit from an 8-hour soak. Each cactus seed batch would need to be tested in the future with controls to verify the effectiveness of the genus.
I damped the soil with 2.5 grams of maxigrow and 2 ml of Botanicare Cal-Mag Plus. This was mixed into 1 gallon of water, and I added one tablespoon of sugar and 1 tablespoon of AG garden-friendly fungicide.
Further research I found out that that a .5% for some species of cacti performed best and 1% for others. Some species showed signs of damage at 1%.
I suspect that I added too much fertilizer as more seeds are on the way. I plan on not adding fertilizer on future germination but start fertilizing shortly after the first set of spines.
Bacillus amyloliquefaciens strain D747
Bacillus amyloliquefaciens goes dormant when conditions are unfavorable. The bacteria form an endospore, which is tolerant to high temperatures and effectively dormant in this state.
Bacillus subtilis a very similar to amyloliquefaciens also is endospore forming. Has had extensive scholarly research on its effectiveness in the fields and its ability to protect plants from pathogens. The strain is fairly expensive and not readily available to consumer gardeners. The case seems to be the most common product around, with a room-temperature shelf of roughly 3 years.
Bacillus amyloliquefaciens strain D747 has many companies that provide this product. Depending on the vendor, they claim a shelf life of 2-3 years. Studies with D747 with Pythium have shown good results with marginal reduction in growth compared to uninfected plants. As it is more stable in storage compared to fungal solutions for damping off control with a longer shelf life. I believe this is an excellent product to treat seeds with.
Sloppy mix/soak
The hydrogen peroxide at a rate of 1.5% for 8 hours. I sowed right away. Four days later, the Ariocarpus started germinating. 7 Days ago, a majority Ariocarpus had germinated.
D747 only + exact fertlizer
This started with a D747 soak. Fertilizer was mixed to an EC of 50 in distilled water. The seeds dried unintentionally during the night soak. The same batch of coco coir was used. A more significant seed density was used during this batch.